Step-by-Step Guide to DIY Solar Generator
Building your own solar generator can be an incredibly fulfilling project, especially for those who love DIY tasks and want to tap into renewable energy. Whether you’re gearing up for some off-grid adventures, looking to cut down on your electricity bills, or just want to live a more sustainable lifestyle, a DIY solar generator is a fantastic, portable, and eco-friendly power option. In this step-by-step guide, we’ll take you through everything you need to know—from gathering your materials to testing your setup. So, let’s dive in!
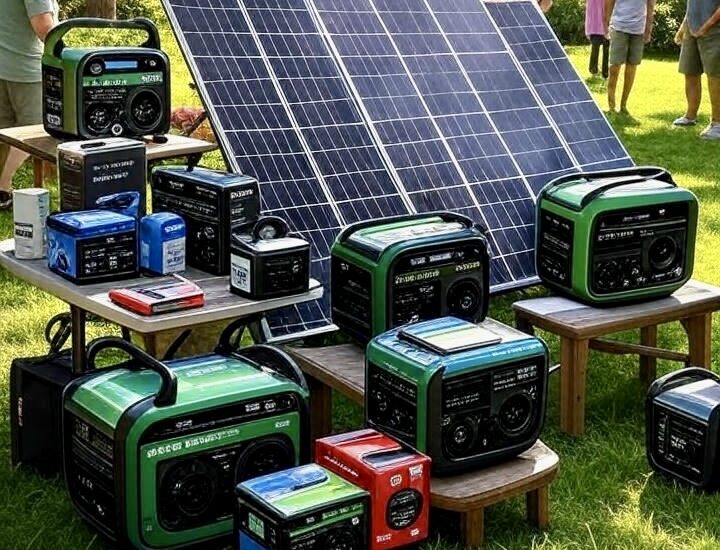
Why Build a DIY Solar Generator?
A solar generator takes sunlight and turns it into electricity, storing that energy in a battery for when you need it later. Unlike traditional gas-powered generators, solar generators operate quietly, produce no emissions, and can save you money in the long run. If you decide to build your own, you can tailor it to fit your specific needs, whether that’s for camping trips, emergency situations, or powering small appliances at home. Plus, it’s a great way to dive into the world of solar energy!
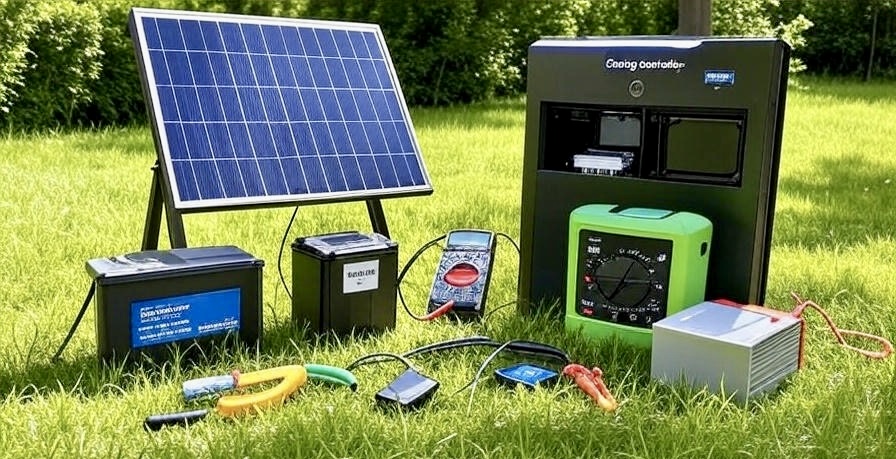
What You’ll Need
Before diving in, gather these essential components. Costs can vary, but a basic setup typically ranges from $200–$500, depending on your choices.
- Solar Panel (50W–100W): Captures sunlight to generate electricity. A 100W panel costs around $100–$150.
- Deep-Cycle Battery (12V, 35Ah–100Ah): Stores energy. Look for AGM or lithium-ion batteries ($80–$200).
- Charge Controller (10A–20A): Regulates power flow to prevent overcharging ($20–$50).
- Power Inverter (300W–1000W): Converts DC power to AC for household devices ($30–$100).
- Battery Cables and Connectors: For secure connections ($10–$20).
- Mounting Hardware: To secure the solar panel ($10–$30).
- Tools: Screwdriver, wire cutters, crimping tool, and a multimeter for testing.
- Optional: A sturdy box or case to house your components for portability.
Step 1: Plan Your Power Needs
Start by calculating how much power you’ll need. This determines the size of your solar panel and battery.
- List Your Devices: Write down the appliances you’ll power (e.g., phone charger: 10W, laptop: 60W, small fan: 40W).
- Calculate Watt-Hours: Multiply the device’s wattage by usage hours. For example, a 60W laptop used for 3 hours = 180 watt-hours (Wh).
- Total Daily Usage: Add up the watt-hours for all devices. If your total is 300Wh per day, a 100Ah battery (which provides ~600Wh at 50% discharge) will suffice for one day.
Pro Tip: Oversize your battery by 20–30% to account for inefficiencies and cloudy days.
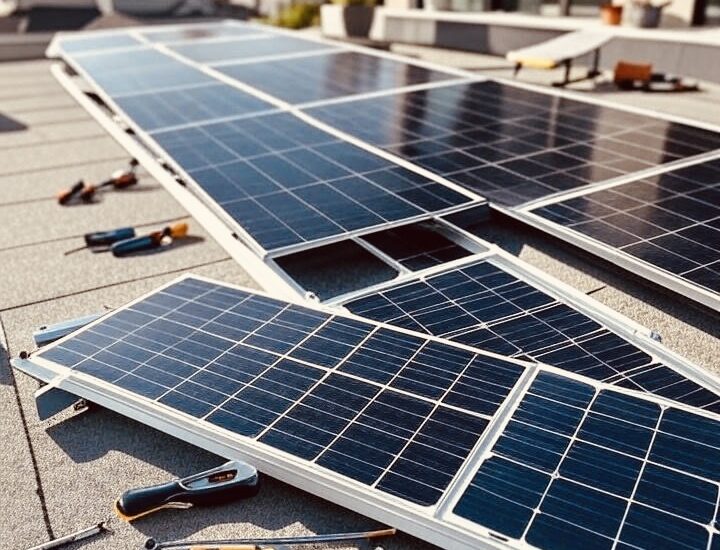
Step 2: Choose and Set Up Your Solar Panel
Your solar panel is the heart of the system, capturing sunlight to charge the battery.
- Pick the Right Wattage: A 100W panel generates about 500Wh on a sunny day (5 hours of peak sunlight). This is enough for small devices.
- Positioning: Place the panel in a spot with direct sunlight, ideally tilted at a 30–45° angle facing south (in the Northern Hemisphere).
- Secure It: Use mounting hardware to fix the panel on a roof, stand, or portable frame for easy adjustment.
Step 3: Connect the Charge Controller
The charge controller protects your battery by managing the flow of electricity from the solar panel.
- Wiring: Connect the solar panel’s positive (+) and negative (-) wires to the charge controller’s “solar input” terminals. Most controllers have labeled ports.
- Double-Check: Ensure the polarity (+ to +, – to -) is correct to avoid damage.
- Indicator Lights: Once connected, the charge controller should show a “charging” status if sunlight is hitting the panel.
Step 4: Hook Up the Battery
The battery stores the energy generated by your solar panel.
- Connect to Charge Controller: Attach the battery’s positive and negative terminals to the “battery” ports on the charge controller using battery cables.
- Safety First: Use insulated gloves and ensure no metal objects touch the terminals to avoid sparks.
- Test Voltage: Use a multimeter to confirm the battery is receiving a charge (should read 12.6V–14.4V when charging).
Step 5: Add the Power Inverter
The inverter converts the battery’s DC power into AC power, which most household devices use.
- Connect to Battery: Attach the inverter’s positive and negative cables directly to the battery terminals.
- Choose the Right Size: For small setups, a 300W–1000W inverter works well. Match it to your device’s needs (e.g., a 300W inverter can power a laptop and phone charger).
- Safety Note: Ensure the inverter has built-in protections like over-voltage and short-circuit safeguards.
Step 6: Assemble the System for Portability
To make your solar generator portable, house the components in a sturdy box or case.
- Organize Components: Place the battery, charge controller, and inverter inside the box. Secure them with brackets or adhesive.
- Add Ports: Drill holes for the inverter’s AC outlets and the charge controller’s display to be accessible.
- Label Everything: Clearly mark “input” (solar panel) and “output” (inverter) for easy use.
Step 7: Test Your DIY Solar Generator
Before relying on your generator, test it thoroughly.
- Charge the Battery: Let the solar panel charge the battery for a few hours on a sunny day.
- Power a Device: Plug in a small device (like a phone charger) to the inverter and confirm it works.
- Monitor Performance: Use the charge controller’s display to check the battery’s charge level and ensure it’s not over-discharging (below 50% for lead-acid batteries).
Step 8: Maintain and Optimize Your Setup
Regular maintenance ensures your solar generator lasts for years.
- Clean the Panel: Wipe off dust or debris from the solar panel monthly to maximize efficiency.
- Check Connections: Inspect wires and connectors for wear or looseness every few months.
- Battery Care: For lead-acid batteries, check electrolyte levels (if applicable) and avoid deep discharges. Lithium-ion batteries require less maintenance but should be stored at 50% charge if not in use.
Safety Tips to Follow
- Avoid Overloading: Don’t exceed the inverter’s wattage limit, or it may overheat.
- Ventilation: Ensure the battery and inverter have airflow to prevent overheating, especially in an enclosed case.
- Grounding: If using the generator for larger setups, ground the system to avoid electrical hazards.
How Much Can You Save?
Using a DIY solar generator can really help you save a good chunk of change over time. For instance, if you’re charging a laptop (60W) for about 3 hours each day with a traditional power grid, it could set you back around $0.15 daily (based on $0.15/kWh), which adds up to about $55 a year. But with a solar generator, that cost drops to zero after you make the initial investment, especially if you’re getting around 5 hours of sunlight each day.
Final Thoughts
Creating your own solar generator is a fantastic way to tap into renewable energy and save some cash at the same time. With this easy-to-follow guide, you’ll be able to build a dependable, portable power source perfect for camping trips, emergencies, or everyday use. Start with a small setup, test it out thoroughly, and then expand as you see fit—both your budget and the environment will appreciate it!
Have you ever built a solar generator or dabbled in other green energy projects? We’d love to hear about your experiences in the comments below! And if you’re looking for more ideas on sustainable living, be sure to check out our DIY Solar Projects section.