Step-by-Step Guide to DIY Solar Generator
Building your own solar generator is a rewarding project for DIY enthusiasts looking to harness renewable energy. Whether you’re preparing for off-grid adventures, reducing electricity bills, or simply embracing sustainable living, a DIY solar generator offers a portable, eco-friendly power solution. In this step-by-step guide to DIY solar generator, we’ll walk you through the process—from gathering materials to testing your setup. Let’s get started!
Why Build a DIY Solar Generator?
A solar generator converts sunlight into electricity, storing it in a battery for later use. Unlike gas-powered generators, solar generators are silent, emission-free, and cost-effective over time. Building your own allows you to customize it to your needs, whether for camping, emergencies, or small home appliances. Plus, it’s a fun way to learn about solar energy!
What You’ll Need
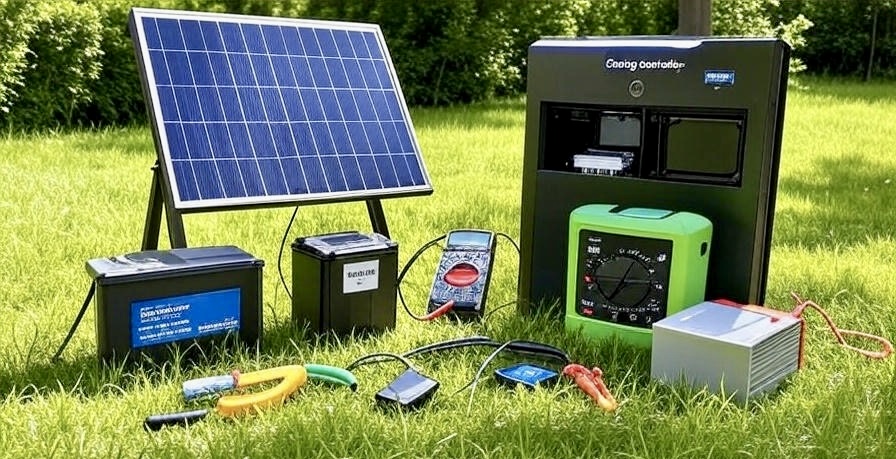
Before diving in, gather these essential components. Costs can vary, but a basic setup typically ranges from $200–$500, depending on your choices.
- Solar Panel (50W–100W): Captures sunlight to generate electricity. A 100W panel costs around $100–$150.
- Deep-Cycle Battery (12V, 35Ah–100Ah): Stores energy. Look for AGM or lithium-ion batteries ($80–$200).
- Charge Controller (10A–20A): Regulates power flow to prevent overcharging ($20–$50).
- Power Inverter (300W–1000W): Converts DC power to AC for household devices ($30–$100).
- Battery Cables and Connectors: For secure connections ($10–$20).
- Mounting Hardware: To secure the solar panel ($10–$30).
- Tools: Screwdriver, wire cutters, crimping tool, and a multimeter for testing.
- Optional: A sturdy box or case to house your components for portability.
Step 1: Plan Your Power Needs
Start by calculating how much power you’ll need. This determines the size of your solar panel and battery.
- List Your Devices: Write down the appliances you’ll power (e.g., phone charger: 10W, laptop: 60W, small fan: 40W).
- Calculate Watt-Hours: Multiply the device’s wattage by usage hours. For example, a 60W laptop used for 3 hours = 180 watt-hours (Wh).
- Total Daily Usage: Add up the watt-hours for all devices. If your total is 300Wh per day, a 100Ah battery (which provides ~600Wh at 50% discharge) will suffice for one day.
Pro Tip: Oversize your battery by 20–30% to account for inefficiencies and cloudy days.
Step 2: Choose and Set Up Your Solar Panel
Your solar panel is the heart of the system, capturing sunlight to charge the battery.
- Pick the Right Wattage: A 100W panel generates about 500Wh on a sunny day (5 hours of peak sunlight). This is enough for small devices.
- Positioning: Place the panel in a spot with direct sunlight, ideally tilted at a 30–45° angle facing south (in the Northern Hemisphere).
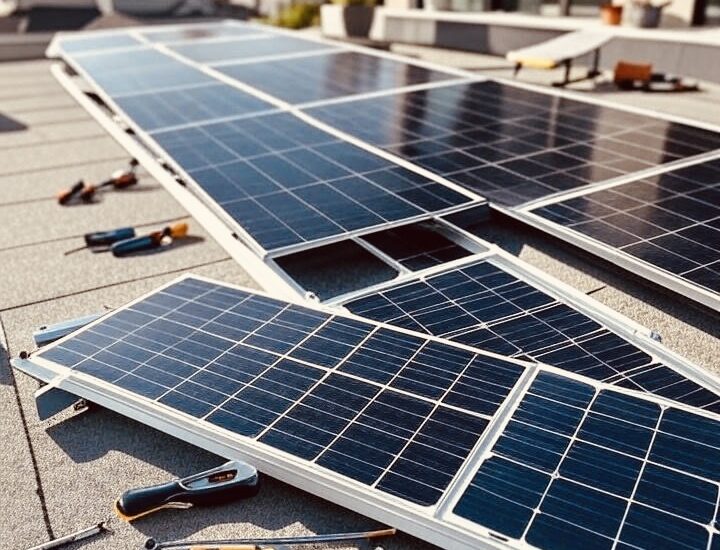
- Secure It: Use mounting hardware to fix the panel on a roof, stand, or portable frame for easy adjustment.
Step 3: Connect the Charge Controller
The charge controller protects your battery by managing the flow of electricity from the solar panel.
- Wiring: Connect the solar panel’s positive (+) and negative (-) wires to the charge controller’s “solar input” terminals. Most controllers have labeled ports.
- Double-Check: Ensure the polarity (+ to +, – to -) is correct to avoid damage.
- Indicator Lights: Once connected, the charge controller should show a “charging” status if sunlight is hitting the panel.
Step 4: Hook Up the Battery
The battery stores the energy generated by your solar panel.
- Connect to Charge Controller: Attach the battery’s positive and negative terminals to the “battery” ports on the charge controller using battery cables.
- Safety First: Use insulated gloves and ensure no metal objects touch the terminals to avoid sparks.
- Test Voltage: Use a multimeter to confirm the battery is receiving a charge (should read 12.6V–14.4V when charging).
Step 5: Add the Power Inverter
The inverter converts the battery’s DC power into AC power, which most household devices use.
- Connect to Battery: Attach the inverter’s positive and negative cables directly to the battery terminals.
- Choose the Right Size: For small setups, a 300W–1000W inverter works well. Match it to your device’s needs (e.g., a 300W inverter can power a laptop and phone charger).
- Safety Note: Ensure the inverter has built-in protections like over-voltage and short-circuit safeguards.
Step 6: Assemble the System for Portability
To make your solar generator portable, house the components in a sturdy box or case.
- Organize Components: Place the battery, charge controller, and inverter inside the box. Secure them with brackets or adhesive.
- Add Ports: Drill holes for the inverter’s AC outlets and the charge controller’s display to be accessible.
- Label Everything: Clearly mark “input” (solar panel) and “output” (inverter) for easy use.
Step 7: Test Your DIY Solar Generator
Before relying on your generator, test it thoroughly.
- Charge the Battery: Let the solar panel charge the battery for a few hours on a sunny day.
- Power a Device: Plug in a small device (like a phone charger) to the inverter and confirm it works.
- Monitor Performance: Use the charge controller’s display to check the battery’s charge level and ensure it’s not over-discharging (below 50% for lead-acid batteries).
Step 8: Maintain and Optimize Your Setup
Regular maintenance ensures your solar generator lasts for years.
- Clean the Panel: Wipe off dust or debris from the solar panel monthly to maximize efficiency.
- Check Connections: Inspect wires and connectors for wear or looseness every few months.
- Battery Care: For lead-acid batteries, check electrolyte levels (if applicable) and avoid deep discharges. Lithium-ion batteries require less maintenance but should be stored at 50% charge if not in use.
Safety Tips to Follow
- Avoid Overloading: Don’t exceed the inverter’s wattage limit, or it may overheat.
- Ventilation: Ensure the battery and inverter have airflow to prevent overheating, especially in an enclosed case.
- Grounding: If using the generator for larger setups, ground the system to avoid electrical hazards.
How Much Can You Save?
A DIY solar generator can save you hundreds over time. For example, charging a laptop (60W) for 3 hours daily via a traditional grid might cost $0.15 per day (at $0.15/kWh), or $55 per year. With a solar generator, that cost drops to $0 after the initial investment, assuming 5 hours of sunlight daily.
Final Thoughts
Building a DIY solar generator is an empowering way to embrace renewable energy while saving money. By following this step-by-step guide to DIY solar generator, you’ll create a reliable, portable power source for camping, emergencies, or daily use. Start small, test thoroughly, and expand your system as needed—your wallet and the planet will thank you!
Have you built a solar generator or tried other green energy projects? Share your experiences in the comments below! For more sustainable living ideas, check out our DIY Solar Projects section.